2022年1月31日 星期一

MindAR: 使用Python Flask來實現WebAR

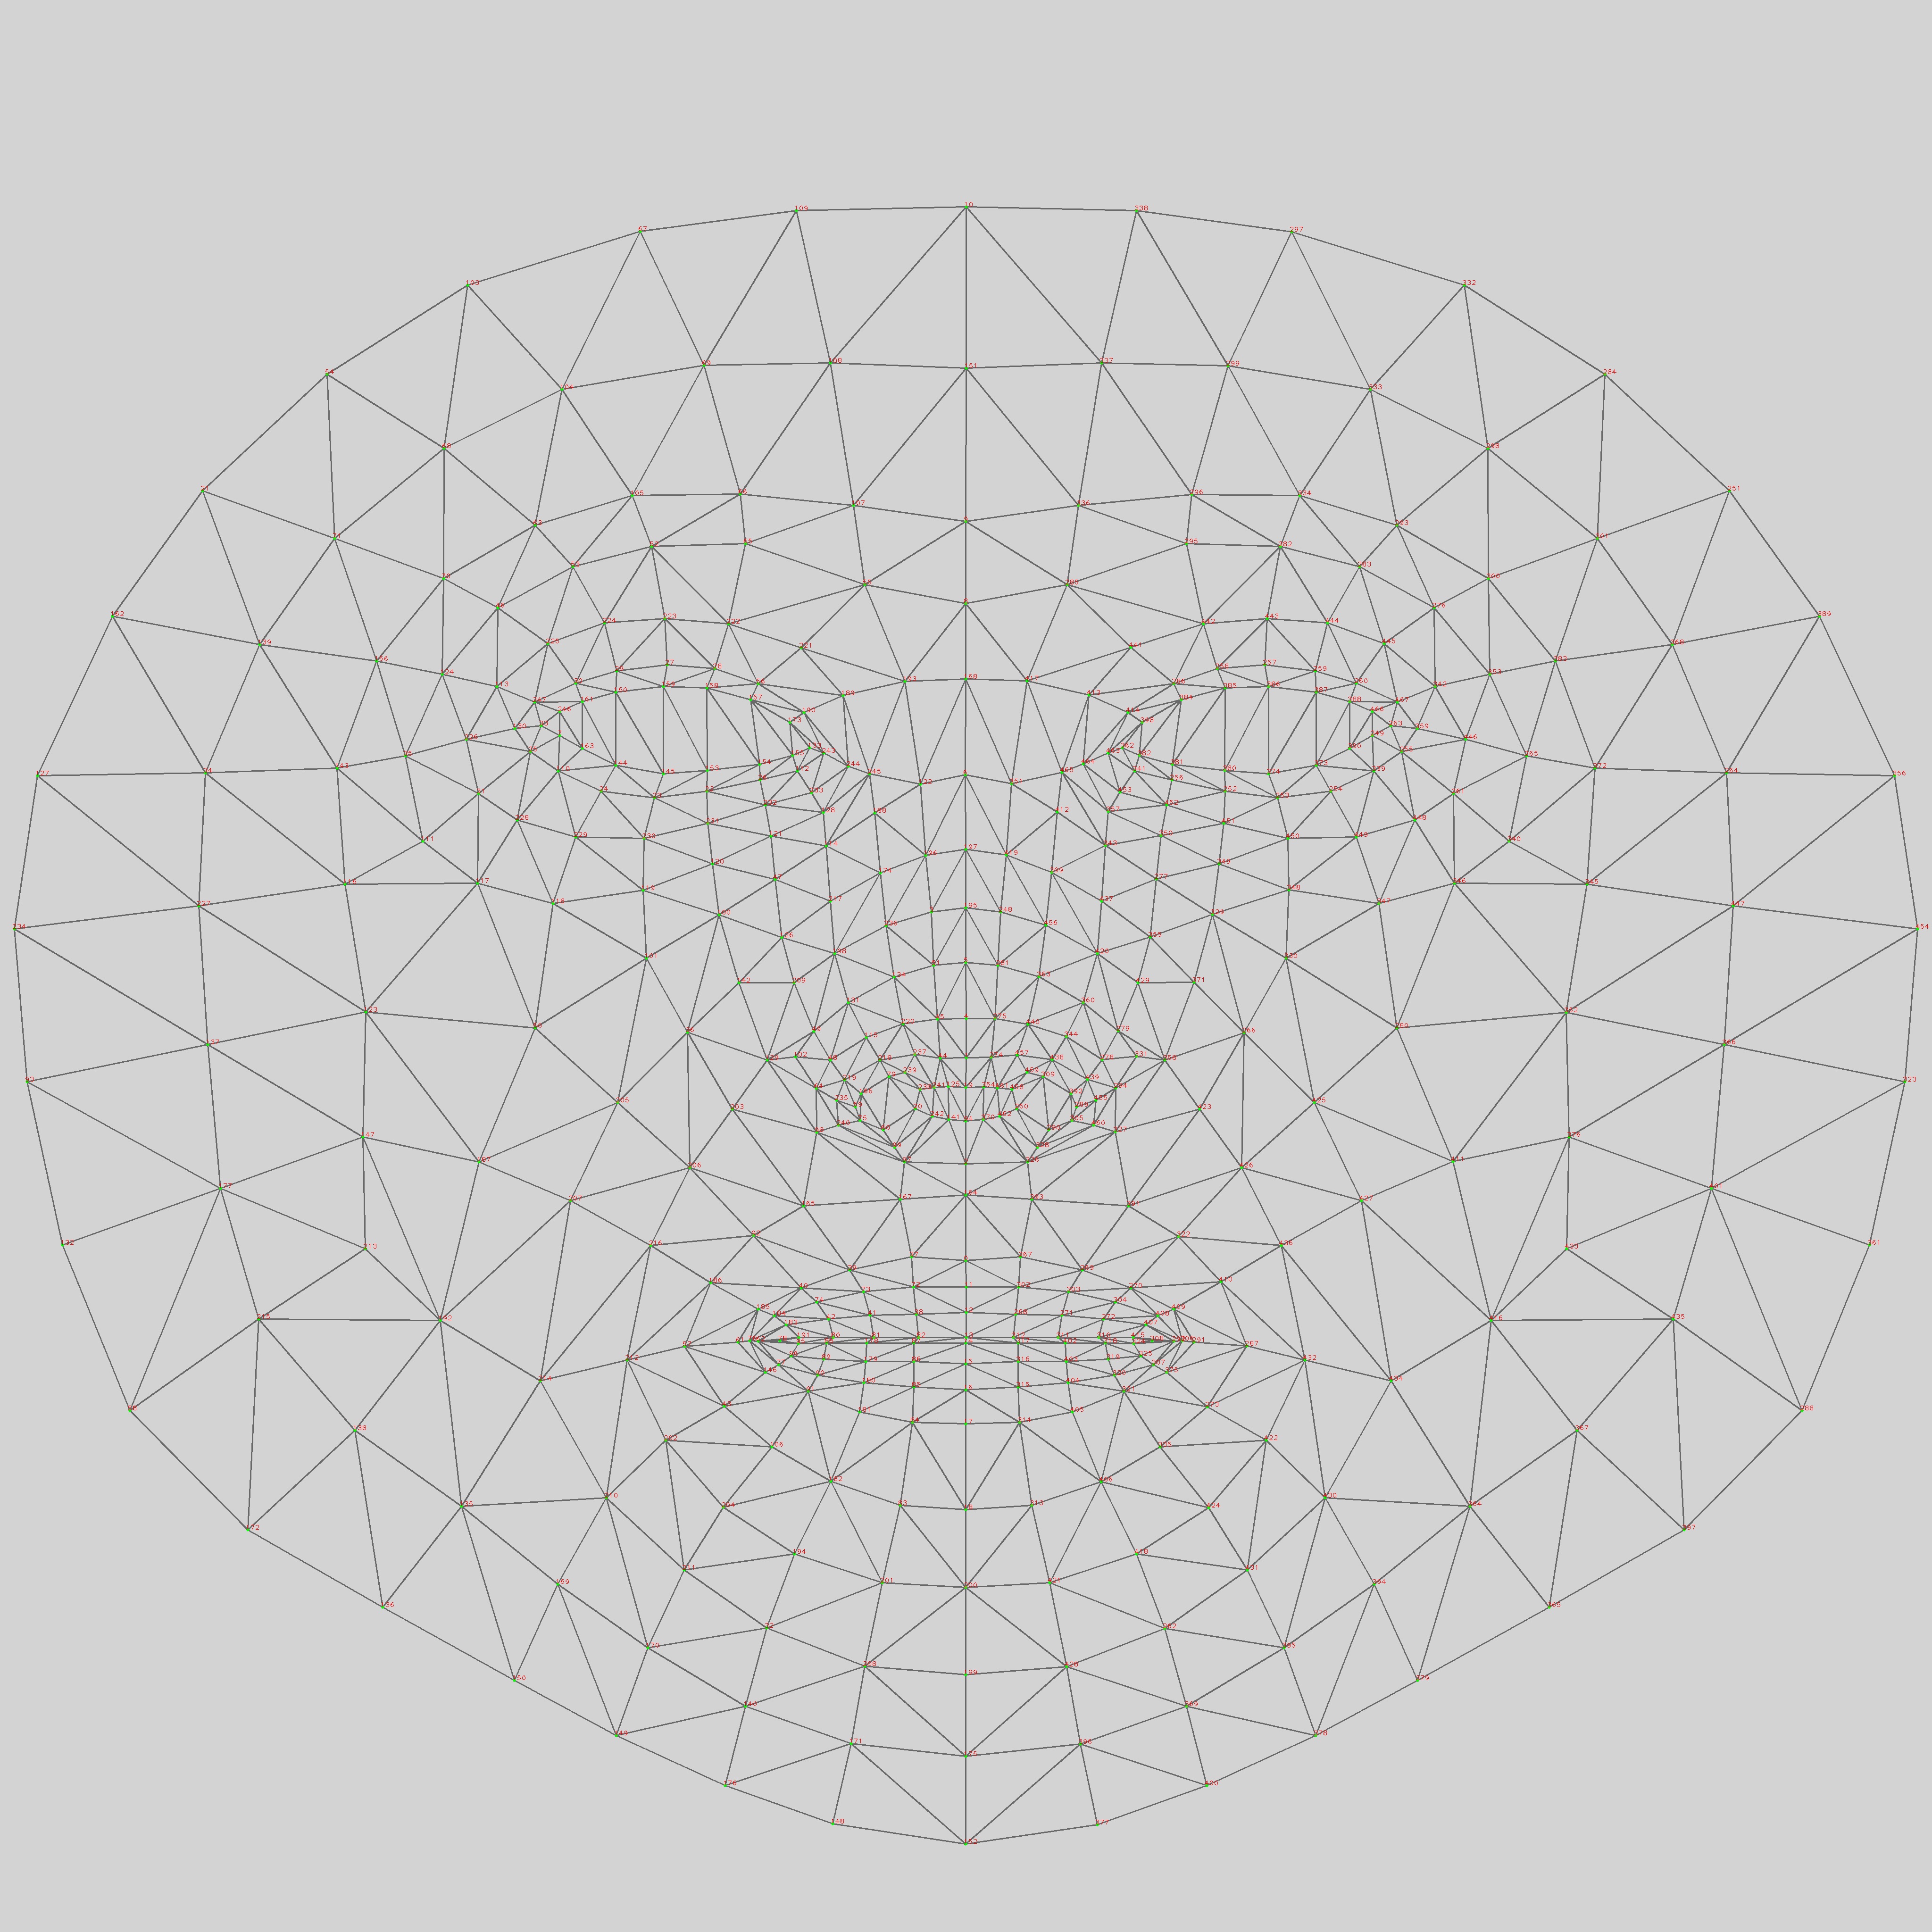
MindAR教學網站:https://hiukim.github.io/mind-ar-js-doc/face-tracking-quick-start/webpage

 Flask教學網站:https://flask.palletsprojects.com/en/2.0.x/quickstart/#a-minimal-application

1. 安裝Flask套件,開啟cmd應用程式,輸入下列命令。
pip install Flask


2.使用IDLE來編輯程式,並儲存成test.html。


3.切換到工作目錄,使用python test.py來啟動網站。


4.開啟Chrome進行測試,並輸入127.0.0.1:5000。


5.編輯face_ar.html文件,並儲存在templates資料來中,範例程式摘自Minimal Example

程式碼:

 1
 2
 3
 4
 5
 6
 7
 8
 9
10
11
12
13
14
15
16
17
18
<html>
  <head>
    <meta name="viewport" content="width=device-width, initial-scale=1" />
    <script src="https://cdn.jsdelivr.net/gh/hiukim/mind-ar-js@1.0.0/dist/mindar-face.prod.js"></script>
    <script src="https://aframe.io/releases/1.2.0/aframe.min.js"></script>
    <script src="https://cdn.jsdelivr.net/gh/hiukim/mind-ar-js@1.0.0/dist/mindar-face-aframe.prod.js"></script>
  </head>

  <body>
    <a-scene mindar-face embedded color-space="sRGB" renderer="colorManagement: true, physicallyCorrectLights" vr-mode-ui="enabled: false" device-orientation-permission-ui="enabled: false">
      <a-camera active="false" position="0 0 0"></a-camera>

      <a-entity mindar-face-target="anchorIndex: 1">
    <a-sphere color="green" radius="0.1"></a-sphere>
      </a-entity>
    </a-scene>
  </body>
</html>

6.改寫Flask程式-test.py,黃底是新增的部份。

1
2
3
4
5
6
7
8
from flask import Flask
from flask import render_template

app = Flask(__name__)

@app.route("/")
def hello_world(name=None):
    return render_template('face_ar.html', name=name)

7.測試時要記得在cmd中按下Ctrl+C來中止網站,再執行Python test.py命令重新啟動網站。
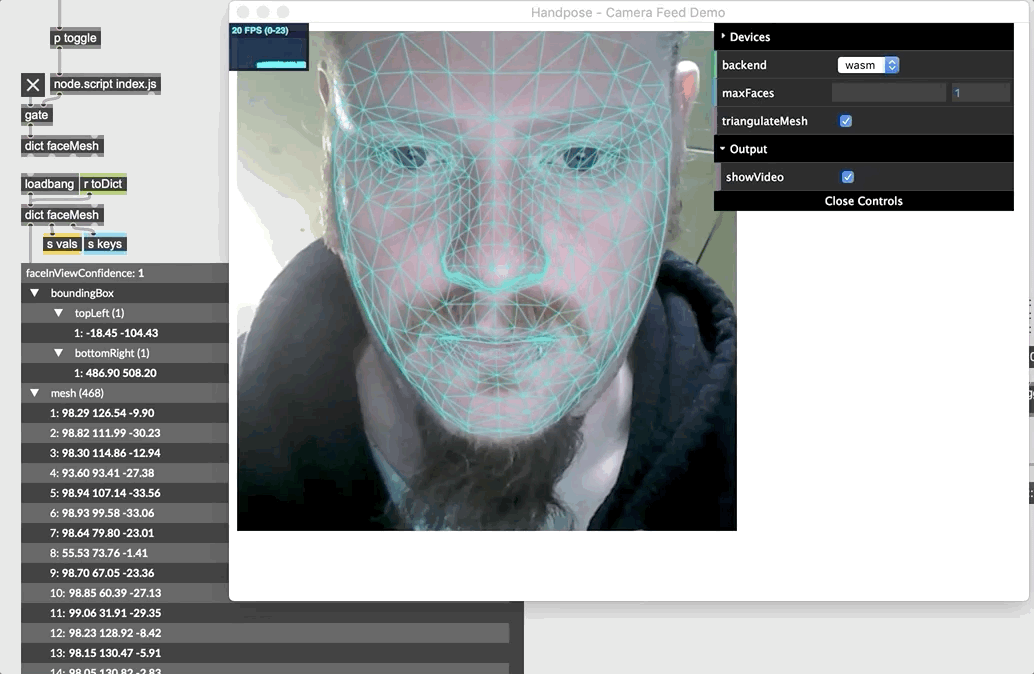
8.重新更新Chrome的內容,就可看到AR。


2022年1月30日 星期日

MindAR:人臉擴增實境應用

 MindAR教學文件:https://hiukim.github.io/mind-ar-js-doc/face-tracking-quick-start/webpage

AFrame教學文件:https://aframe.io/

編輯工具:Notepad++

測試工具:Web Server for Chrome

1.利用Notepad++編輯程式,範例一:Minimal Example,原始程式如下:

 1
 2
 3
 4
 5
 6
 7
 8
 9
10
11
12
13
14
15
16
17
18
<html>
  <head>
    <meta name="viewport" content="width=device-width, initial-scale=1" />
    <script src="https://cdn.jsdelivr.net/gh/hiukim/mind-ar-js@1.0.0/dist/mindar-face.prod.js"></script>
    <script src="https://aframe.io/releases/1.2.0/aframe.min.js"></script>
    <script src="https://cdn.jsdelivr.net/gh/hiukim/mind-ar-js@1.0.0/dist/mindar-face-aframe.prod.js"></script>
  </head>

  <body>
    <a-scene mindar-face embedded color-space="sRGB" renderer="colorManagement: true, physicallyCorrectLights" vr-mode-ui="enabled: false" device-orientation-permission-ui="enabled: false">
      <a-camera active="false" position="0 0 0"></a-camera>

      <a-entity mindar-face-target="anchorIndex: 1">
    <a-sphere color="green" radius="0.1"></a-sphere>
      </a-entity>
    </a-scene>
  </body>
</html>

在程式的第4-6行中,分別告知MindAR臉部辨識、AFrame、以及MindAR臉部辨識與AFrame的腳本的來源。第10行中<a-scene>屬性mindar-face說明是由 MindAR 引擎來控制這個場景,第13行<a-entity> 屬性 mindar-face-target="anchorIndex: 1",說明引擎將跟踪特定的錨點位置-鼻尖。記得存成html文件,本範例為test2.html,並建立TreeArt資料夾。

2.開啟Web Server for Chrome,按下"啟用應用程式"。


3.按下上圖中"CHOOSE FOLDER",選擇儲存test2.html程式的資料夾TreeArt。

4.開啟Chrome瀏覽器,輸入http://127.0.0.1:8887/test2.html網址,就可看到一顆球在鼻尖上


5.修改anchorIndex: 1變成anchorIndex: 200,球就跑到下巴。

6. 參加AFrame文件或"好玩的WebVR,A-Fame一個針對3D/AR/VR所設計的網路框架"
,將a-sphere替換成a-box。


以下是有關臉部特點的測試:
臉部的特徵圖如下:

臉部特徵點測試:

雙人測試:


2022年1月23日 星期日

MindAR:從樹藝生命之美的卡片到設計網路版的擴增實境

 在2022年1月9日受邀參加"2022年南投縣文化資產學會第13屆第1次會員大會",這是一個很有文化內涵的學會,當天除了會員大會外,更安排國立台灣工藝研究發展中心主任張仁吉演講"台灣文化資產的價值與實踐"。


當天收到兩份很棒的工藝作品,其一是學會的藍染衣服,另一個是工藝中心的2022生命之美的年曆。


本文將介紹如何從李永謨老師創作的樹藝生命之美的卡片來實現擴增實境。
1.拍照並利用小畫家,把樹藝卡片存成圖檔。
建議您可以使用圖像分析器,來分析您圖片當成AR影像物件的品質。


2.製作AR影像目標(Image Targets Compiler),使用編譯器https://hiukim.github.io/mind-ar-js-doc/tools/compile,把上圖放在"Drop files here to upload"區,您也可以點選該區域來選擇要製AR影像目標。

選擇後

3.選擇上圖Start按鈕。

4.點選上圖"Download compiled"按鈕,儲存"targets.mind"。


把下面檔案儲存html檔,例如test.html。
 1
 2
 3
 4
 5
 6
 7
 8
 9
10
11
12
13
14
15
16
17
<html>
  <head>
    <meta name="viewport" content="width=device-width, initial-scale=1" />
    <script src="https://cdn.jsdelivr.net/gh/hiukim/mind-ar-js@1.0.0/dist/mindar-image.prod.js"></script>
    <script src="https://aframe.io/releases/1.2.0/aframe.min.js"></script>
    <script src="https://cdn.jsdelivr.net/gh/hiukim/mind-ar-js@1.0.0/dist/mindar-image-aframe.prod.js"></script>
  </head>

  <body>
    <a-scene mindar-image="imageTargetSrc: ./targets.mind;" vr-mode-ui="enabled: false" device-orientation-permission-ui="enabled: false">
      <a-camera position="0 0 0" look-controls="enabled: false"></a-camera>
      <a-entity mindar-image-target="targetIndex: 0">
        <a-plane color="blue" opaciy="0.5" position="0 0 0" height="0.552" width="1" rotation="0 0 0"></a-plane>
      </a-entity>
    </a-scene>
  </body>
</html>

6. 把targets.mind和test.html放在同一目錄下,例如:TreeArt。

7.執行test.html

雖然已經啟動攝像頭,但仍然無法工作,按下右鍵,選擇"檢查"按鈕。
可以發現下面問題
Fetch API cannot load file:///C:/cmlin/TreeArt/targets.mind. URL scheme "file" is not supported.

這是所謂"跨來源資源共享"的問題。

8.要解決這個問題,必須把上述兩個檔案(test.html, targets.mind)放在同一個URL中,就是網站。


就簡單方法就是安裝HFS(HTTP File Server),下載HFS伺服器執行畫面如下:

9.點選上圖Menu表單中Add files...按鈕,加入test.html和targets.mind兩個檔案。

10.打開chrome瀏覽器,輸入http://127.0.0.1/test.html,並打開攝像頭,拿著生命之美的卡片,對著攝像頭,可以展現AR。


11.另一種啟動Web伺服器的方法Web Server for Chrome